

In the ever-evolving landscape of Business Central, Microsoft has introduced a groundbreaking feature – Master Data Management (MDM). This feature facilitates the seamless transfer and synchronization of configurations between companies within the same environment. In this blog post, we’ll delve into the setup process for Master Data Management, exploring its functionalities, and providing a step-by-step guide to harness its capabilities.
Business Central brings forth the ability to migrate configurations effortlessly across entities within a shared environment. This not only ensures a smooth transfer but also enhances operational efficiency and consistency across multiple entities. Let’s explore the details of this remarkable feature.
Feature Details:
Master Data Management serves as a data synchronization engine, enabling ongoing synchronization of data between companies. Here are some key functionalities introduced to oversee master data management:
- Subscription-based Transfer:
- Enable master data movement when a company subscribes to data from another company.
- Customized Synchronization:
- Define tables and fields for synchronization, allowing users to tailor the process according to their specific needs.
- Record Filtering:
- Apply filters on table records to exert more control over the synchronization of data between companies.
- Advanced Couplings:
- Set up more sophisticated synchronization couplings for enhanced configuration options.
- Real-time Updates:
- Changes in the main company are promptly pulled to receiving companies through the job queue, ensuring real-time data consistency.
- Synchronization Logs:
- Users in the receiving company have access to detailed synchronization logs, providing transparency and facilitating monitoring of the process.
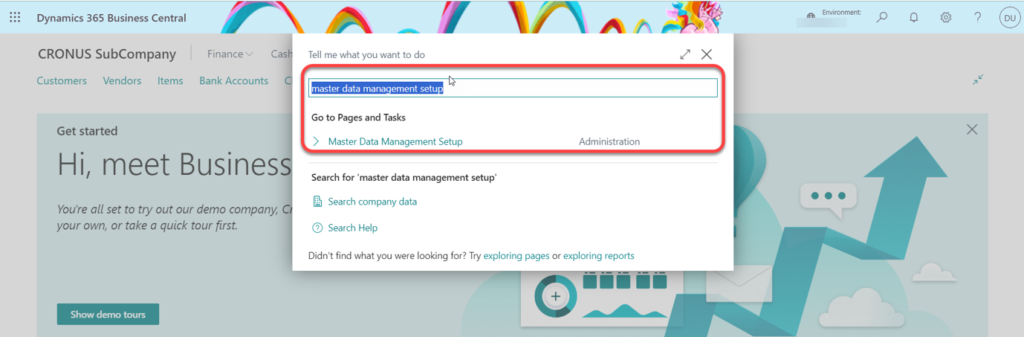
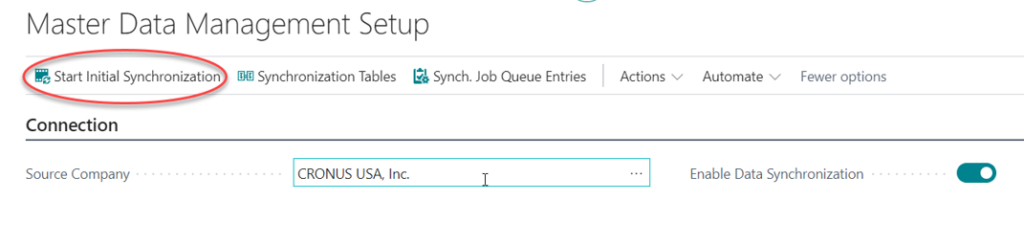
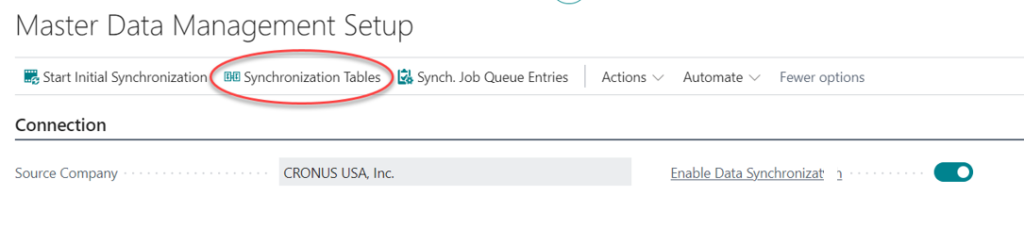
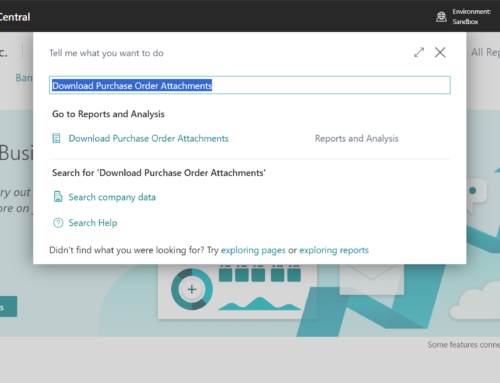
In Business Central, the newly added page is the Master Data Management Setup page.
Select the Source Company, which refers to the company name from which you synchronize data.
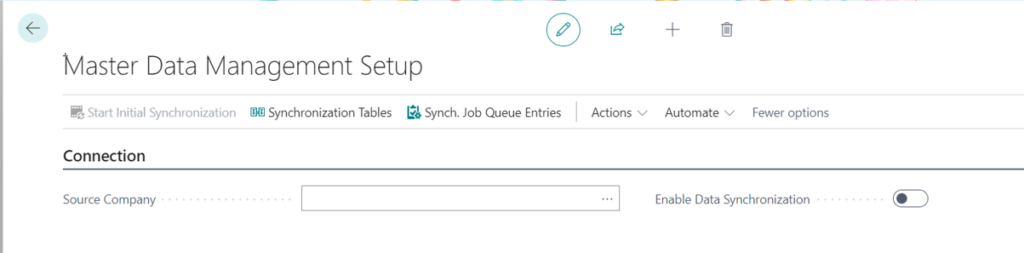
Next, choose ‘Enable Data Synchronization.
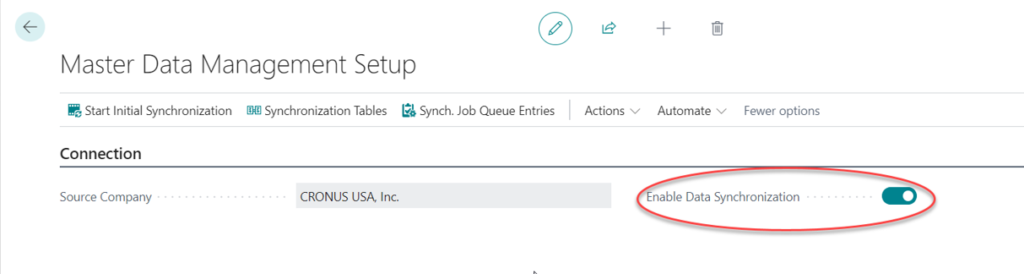
Data synchronization from Source Company has been activated. To inspect the tables and fields slated for synchronization, select the ‘Synchronization Tables’ action. For the initial data synchronization from the Source Company, click on ‘Start Initial Synchronization.’ Subsequent modifications will be automatically synchronized through job queue entries after the initial synchronization process.

All actions are now accessible, and granting you the ability to navigate synchronization tables and logs, as well as initiate synchronizations at your discretion.
- Start Initial Synchronization: Initiate all default synchronization jobs to commence the data synchronization process from the source company. Data will be synchronized based on the predefined mappings specified on the Synchronization Tables page.
- Synchronization Table: View the list of tables to synchronize.
- Job Queue Entries: View the job queue entries that manage the scheduled data synchronization.
- Use Default Synchronization Setup: Resets the integration table mappings and synchronization jobs to the default values for a connection with the source company. All current mappings are deleted and recreated.
- Export Setup: Export the setup tables.
- Import Setup: Import the setup tables.
- Synchronize Modified Records: Synchronize records that have been modified since the last time they were synchronized.
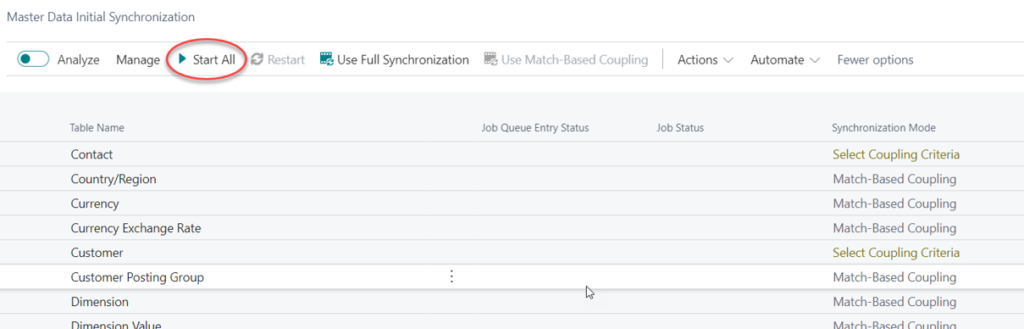
Master Data Initial Synchronization:
- Start All: Start all the default integration jobs for synchronizing data from the chosen source company, as defined on the Synchronization Tables page. Tables with finished job status will be skipped.
- Restart: Restart the synchronization for the selected table. (Available after running Start All)
- Use Full Synchronization: This will create new coupled records based on the records from the source company.
- Use Match-Based Coupling: This will try to match the existing local records with the records from the source company, based on the criteria that you define.
- Reset: Removed all lines, read all default tables, and recalculated synchronization modes.
Select Start All.
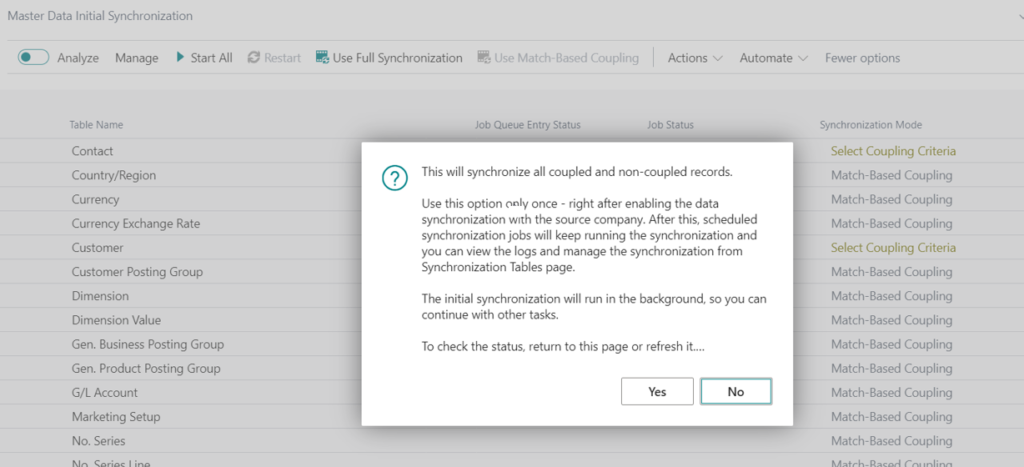
Select Yes.
You can view the Job Queue Entry Status and Job Status.
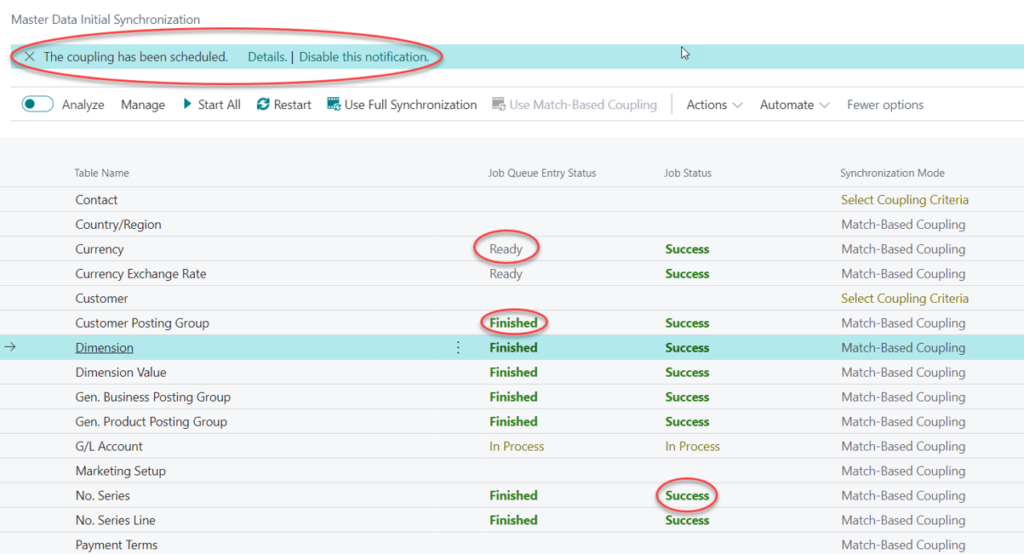
If there is any Sync error then you can view it in the error details by Clicking on Error Status.
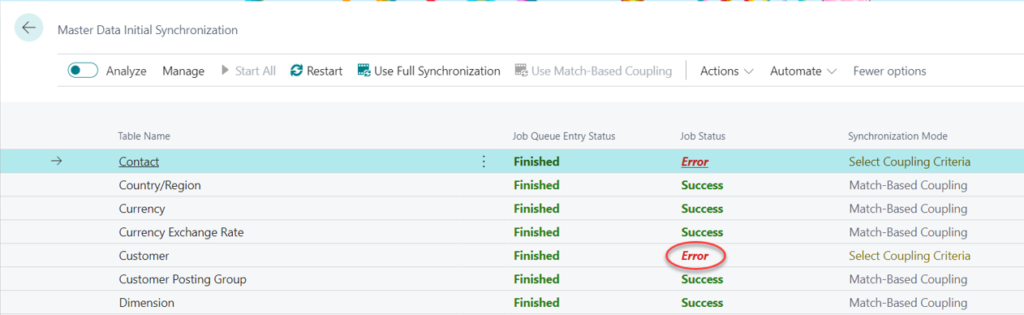
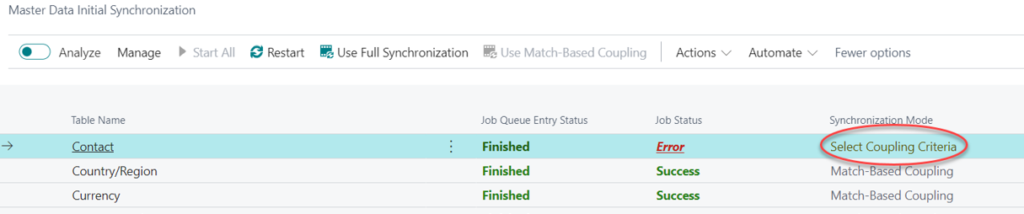
Click Synchronization Mode to select coupling criteria for the selected table. Setup the coupling and Click on Restart to start Sync process again.
Synchronization Tables:
You can configure the Status, Validate Field, and Overwrite Local Change options on this page. Additionally, support for custom fields is available. Upon selecting ‘Fields,’ you can locate them on the page. Custom fields are visible in the Synchronization Fields section.
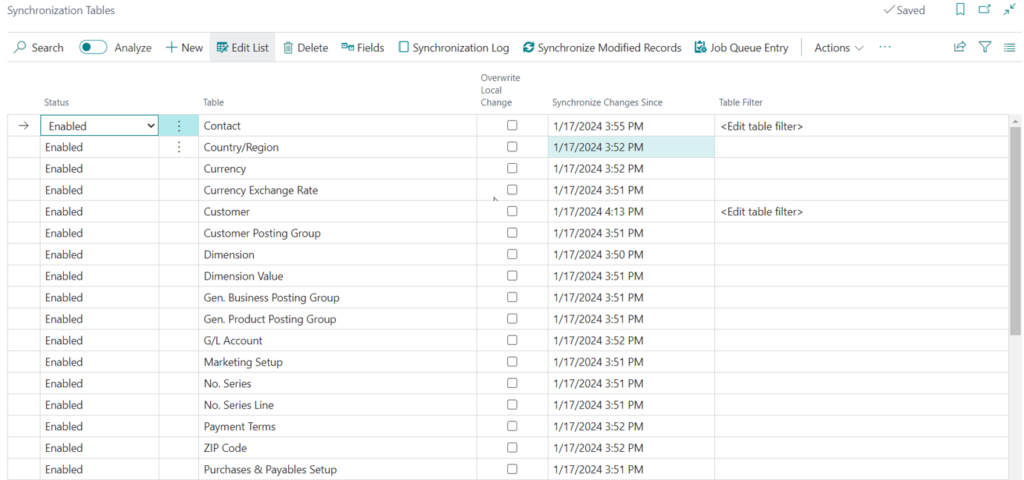
You can also check the Synchronization Log to check the status of each synchronization job executed for this table. This encompasses jobs initiated both through the job queue and manually performed synchronizations on records from the Business Central client.
In conclusion, the Master Data Management feature in Business Central is a robust tool for synchronizing and maintaining data consistency across companies. With features comparable to Dataverse Integrations, it offers a potent solution for Master Data Synchronization. Dive into the setup process, explore the numerous synchronization settings, and experience the power of this evolving MDM tool for yourself! Streamline your operations and elevate your data management capabilities with Business Central’s Master Data Management.
For any further questions or assistance related to Business Central or the Master Data Management setup, feel free to reach out to our dedicated team at support@mindlinkinfotech.com. We’re here to support you on your journey to streamlined operations and enhanced data management capabilities.